Fursuit Head (first attempt)
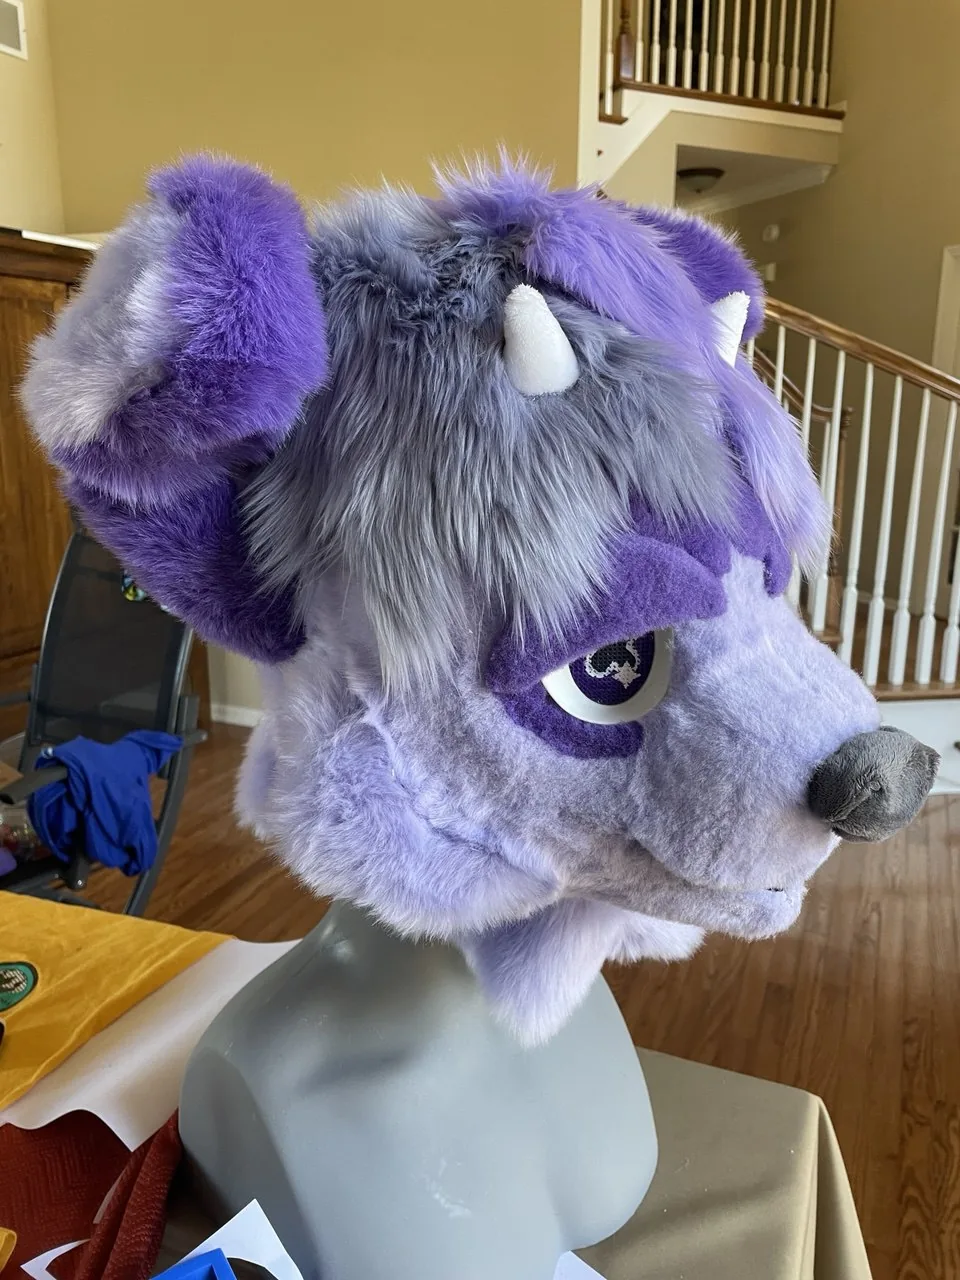
January 2023After trying on a friend's fursuit head a few months prior, deciding I wanted one for myself, and realizing I did not have the income or savings to commission one, I decided to make one myself. The overall process has 3 major steps: creating the base, usually some kind of foam (upholstery/EVA); making the 'skin' by creating a pattern from the base and sewing the faux fur together; and applying the 'skin' to the head and shaving it. Beyond the standard features, I embedded magnets just above the eyes for removable/swappable eyelids, attached wires to the ears for posability, and added some little horns for fun. The wires broke over time and exposed sharp ends that poked through the fur; I removed those, chopped the tops of the ears off of the base, and added some weights for a more authentic floppy ear effect.
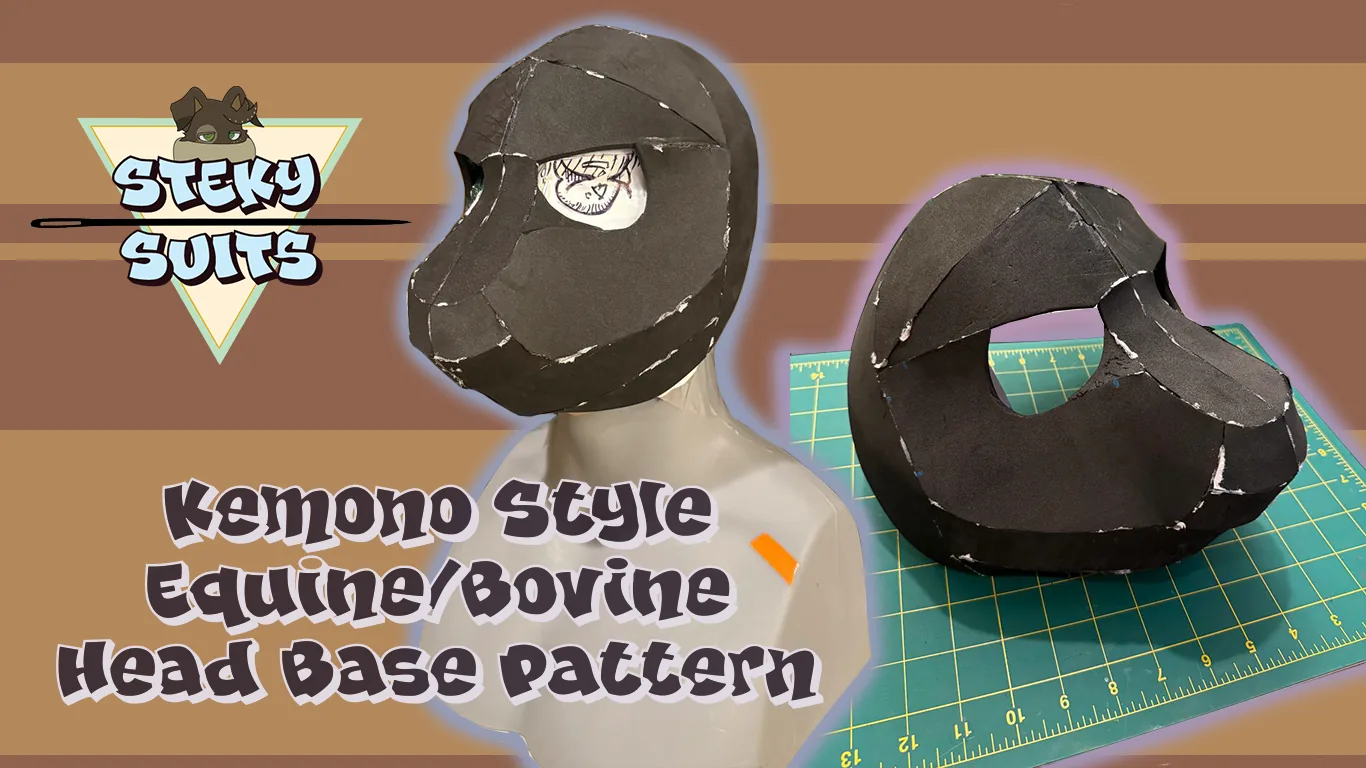
Starting with a head base pattern off Etsy, I cut and glued together EVA foam to create the base shape, adding in a modified 'bucket-head' to make it wearable and cutting out holes for a set of 3D printed eye blanks I also bought off Etsy
I used Adobe Photoshop to create a quick 'draw-over' for the design for reference and to establish an end goal; fearing that I would mess up on my first attempt, I opted to give myself some creative freedom regarding character design instead of trying to replicate an existing character of mine
Side view of the head base during this elementary stage
Carved and added a nose from upholstery foam, which is the same material used to raise the edges of the ears
Handpainted white plastic mesh and glued those to the eyeblanks, giving me a 'skin-less' but wearable product
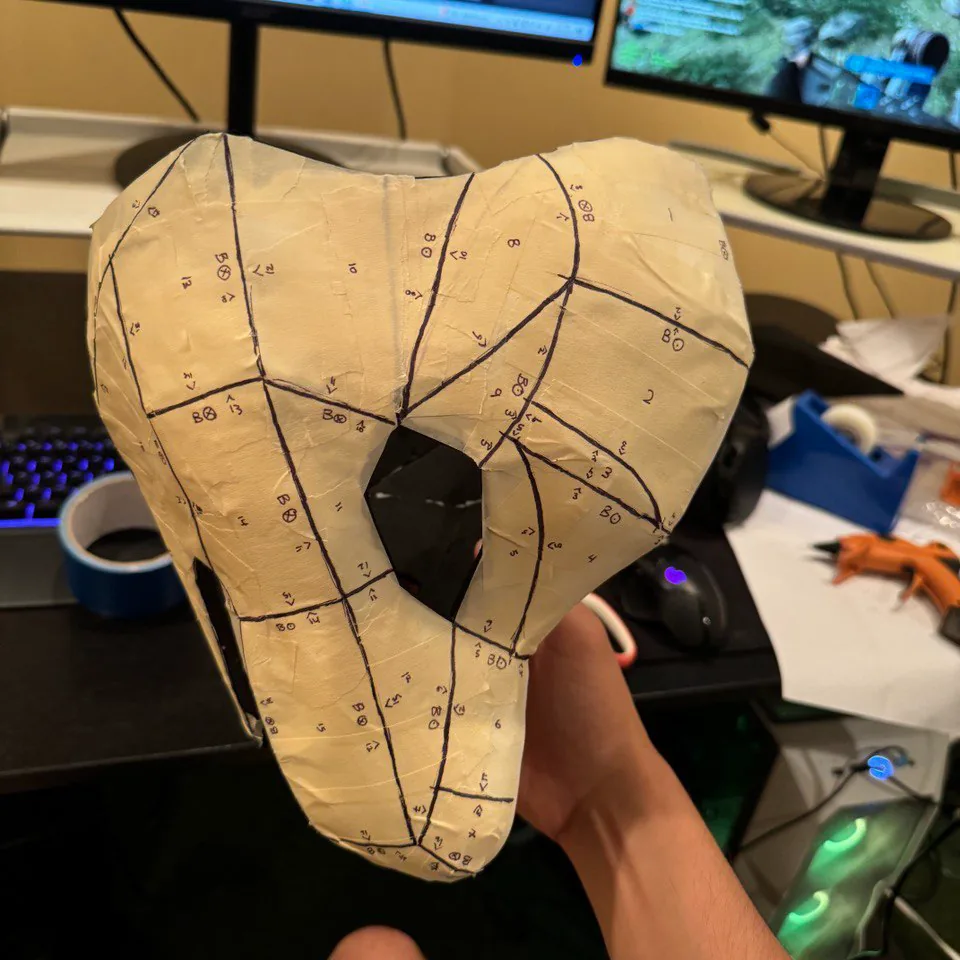
Front view of the taped head, with plenty of markings for fur direction, fur color, and seam alignment
Besides documentation, these photos also served as valuable visual guides to double check how I was attaching each piece together and where it fit in the overall form
The exposed side on the back view is where you can see the modified bucket-head top that extends down to my cheeks and chin in the front
Taping only half of the head not only saves time and materials, but ensures the 'skin' is symmetrical across sides
These are the tape pattern pieces laid out, applied to paper and given a generous seam allowance (which I learned was unnecessary for handsewing)
I also pinned the pattern pieces to the head and took a photo as another visual reference/guide
Each pattern piece was traced onto the back of faux fur, with the direction of each piece intentionally positioned for the fur to all flow the same way once sewn together
Pre-shave application of the 'skin' to the head, with certain seams left unsewn to ensure each piece was glued properly
Post-shave, with magnetic eyelids and posable ears
Was not a fan of the empty space between the ears and wanted to stay closer to my original design, so I started patterning out tufts of hair
I opted for two-colored hair and added white horns to bring in some grey tones, pulling the fur through the back of the hair tuft pieces with a rough bristle brush to make the edge pieces double sided with fur
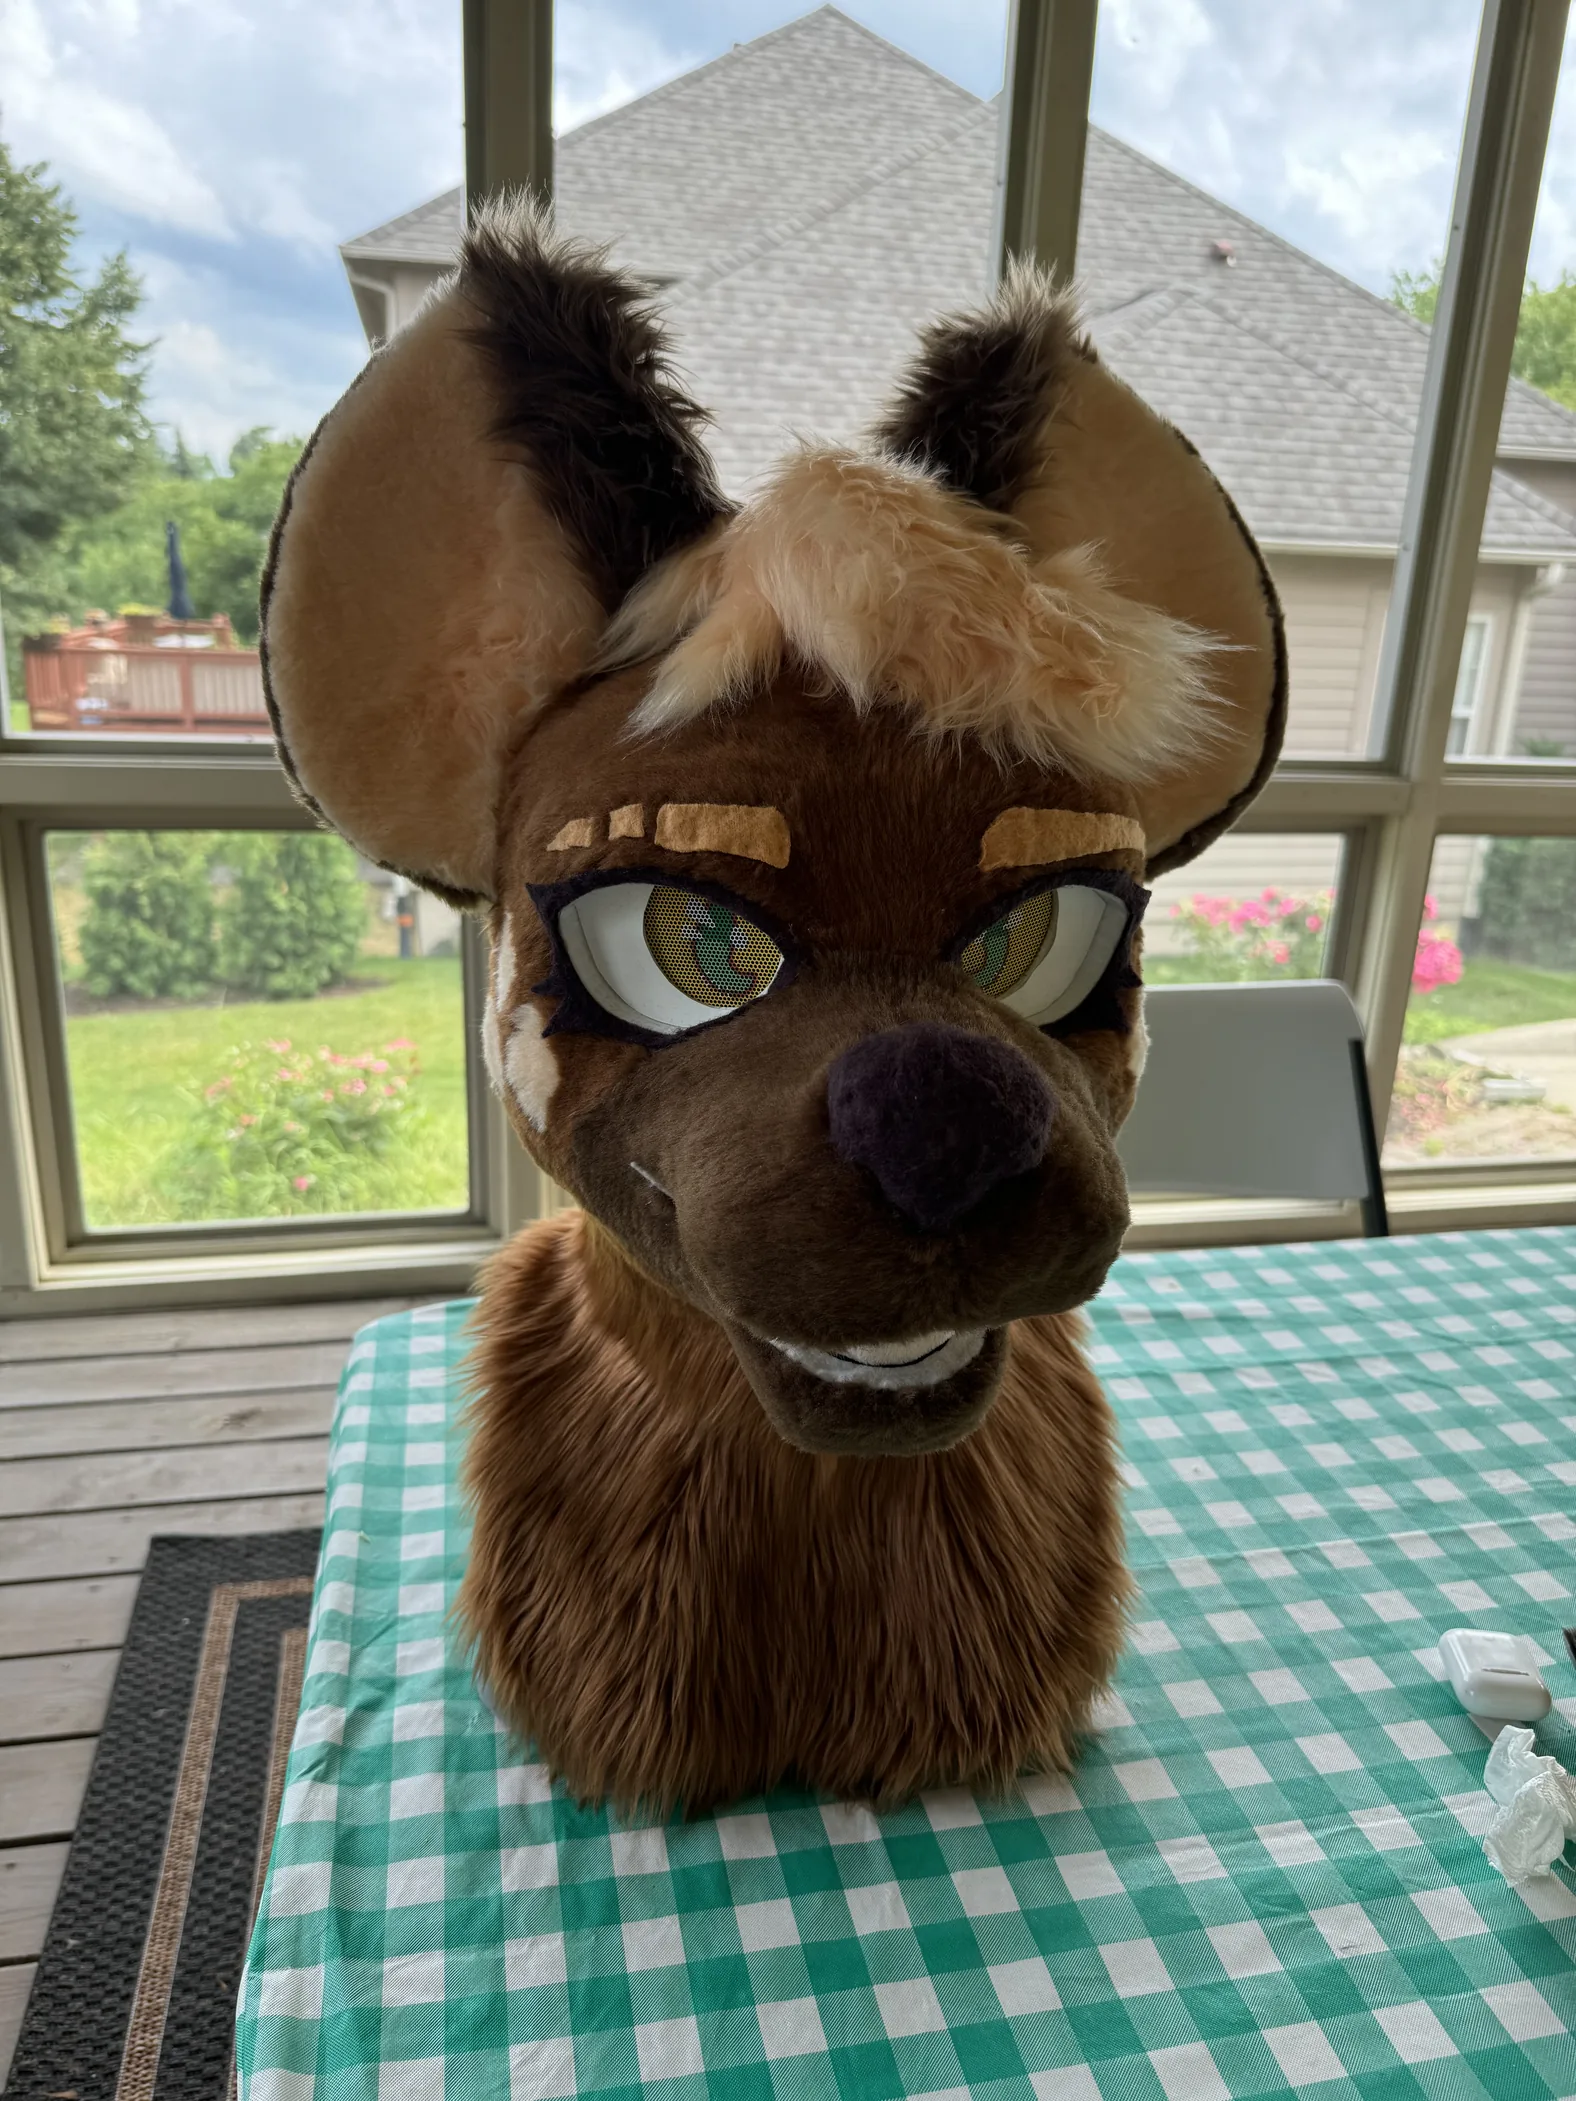
Front view of the finished head
I ended up adding some pieces of dark purple fleece around the eyes for eyeliner to hide the seam, which was done at a much later date
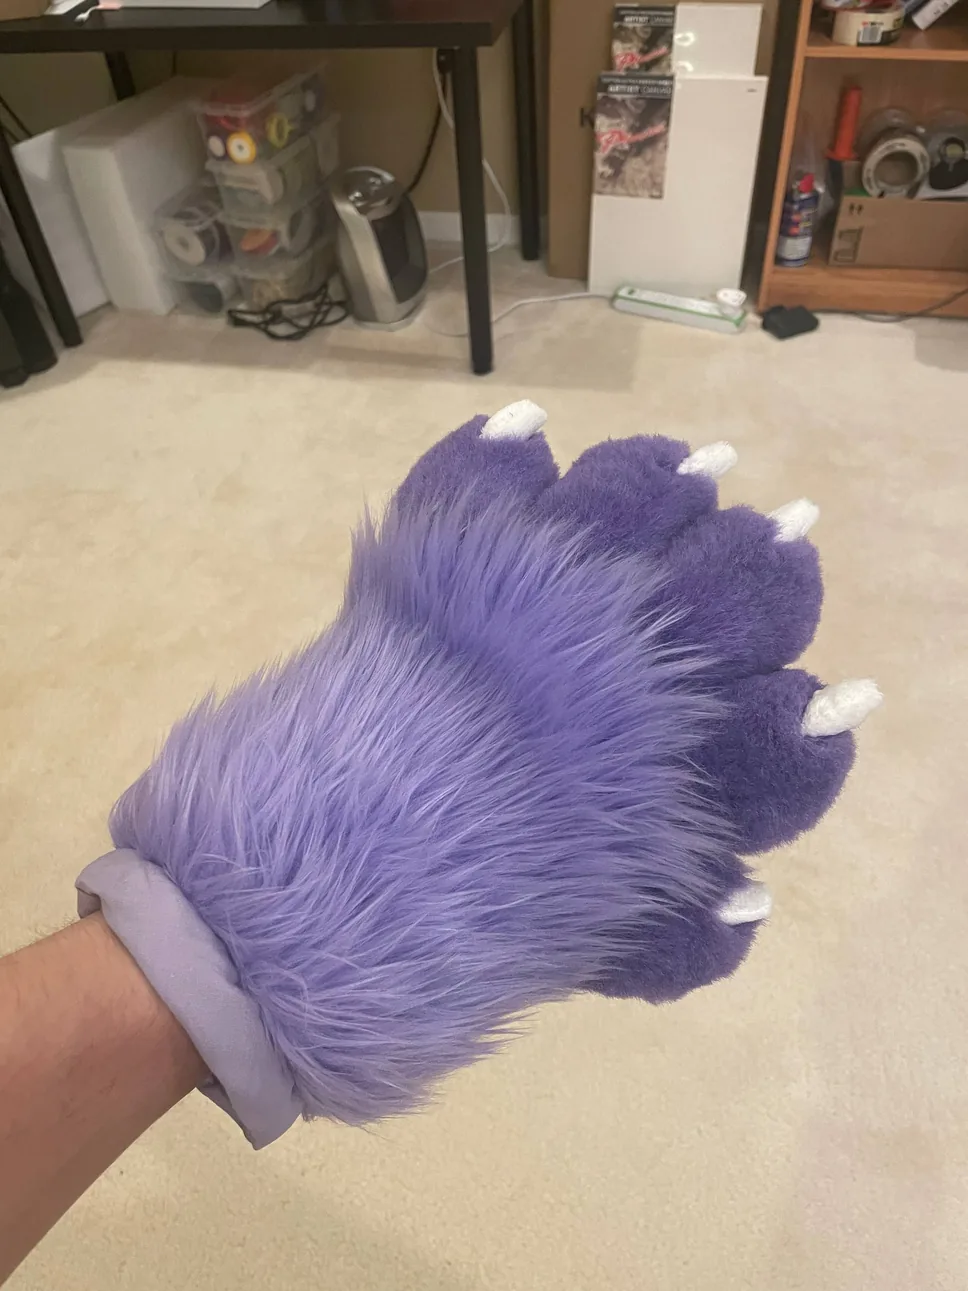
I've now had this fursuit for several years and have created a set of paws and a tail to go with it as well; a photo of me with my suit posing next to a Toyota Chaser
I often go on trips and party with friends who have their own fursuits, which always make for fun photoshoots
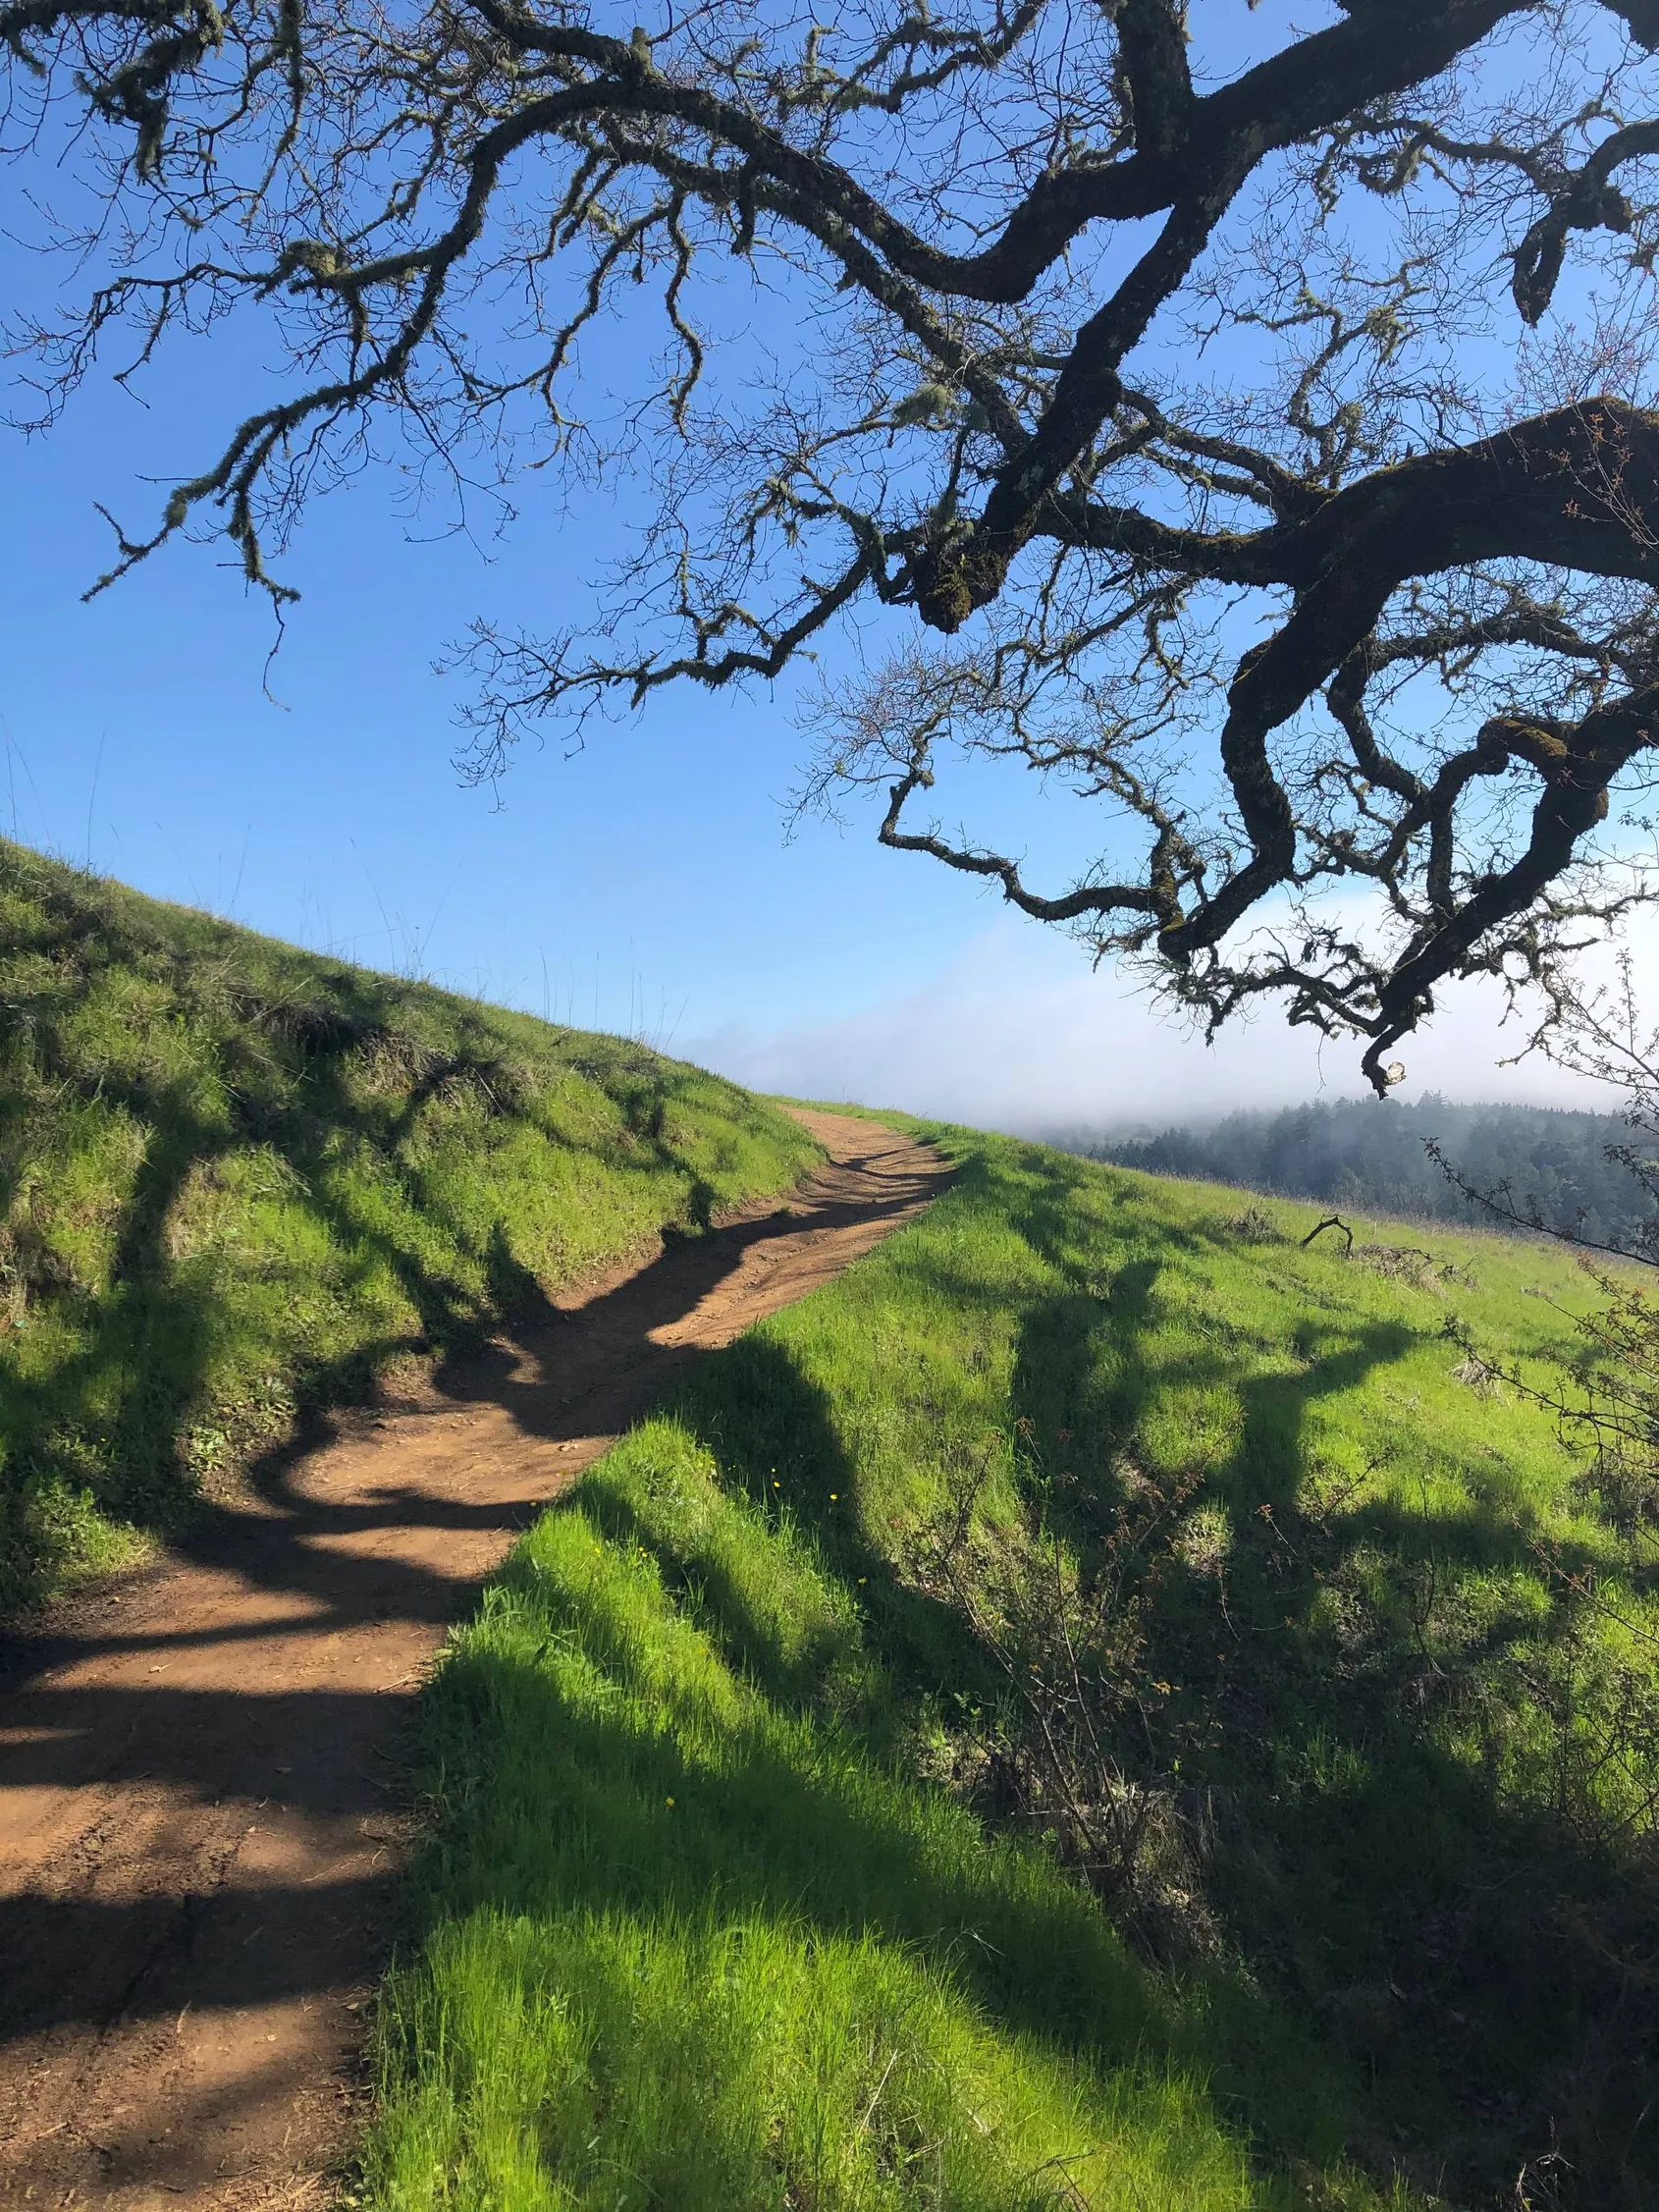
Posing for a photo on the Monte Bello Trail
It's always nice to have friends who love photography and photo editing, which convinced me to start messing around with Adobe Lightroom. This was from a casual photoshoot my friends and I did in San Francisco